I prepped the last Mustard Habanero for winter culture. I postponed it a week as a Garden Spider, which we rarely have, had taken up residence in it.
Step 1: Pull up the plant. Have a suitable pot and compost handy.

Step 2: Trim the plant WAY back.

Step 3: Label and water. I use paint stirrers for labels.

Step 4: Harvest any fruit from the cut stems and place the pot in the basement under shop lights for the winter.

beautiful, albeit unripe, Mustard Habs
I bought 3 Peruvian Daffodil bulbs this spring. I hadn't grown them before. They made a nice, white, aromatic flower. The foliage didn't do much but sag the rest of the summer, but it was incredibly tolerant of my lack of attention to it whilst making it through the miserable summer of heat and drought. I'm bringing it in. The plan is to treat it much like an Amaryllis and ignore it for the winter.

Peruvian Daffodil
I found that my sedum had produced clones at the nodes of the stem. I snipped the stems off and cut it in segments, separating 2 or 3 nodes. I placed each segment on top of soil and sprinkled some sand around it. Most of them had small roots already emerging. I'm hoping to have a lot more sedum from this technique next year. I placed them in the cold frame on the back porch.

New sedum propagation method
Who knows how this winter will go, but if it is anything like last year the cannas should make it. I'm taking a risk by protecting them in pots outdoors this year. Experimentation. The chickens promptly found my little tent of plants alluring and Rosa laid an egg in one of the pots.

Overwintering Cannas in pots under plastic outdoors.
Experiment.

Last of the scallop squash.

Casserole fixings from the garden: chard, dill, onions, peach habaneros, scallop squash

Protecting tender Black & Blue Salvia

Protecting Salvia leucantha- Mexican Bush Sage.
Not sure if this is going to work
Last of the Eggplant

Last of the maters

about 12lbs
Pickled 6 1/2 Quarts of Peach Habaneros
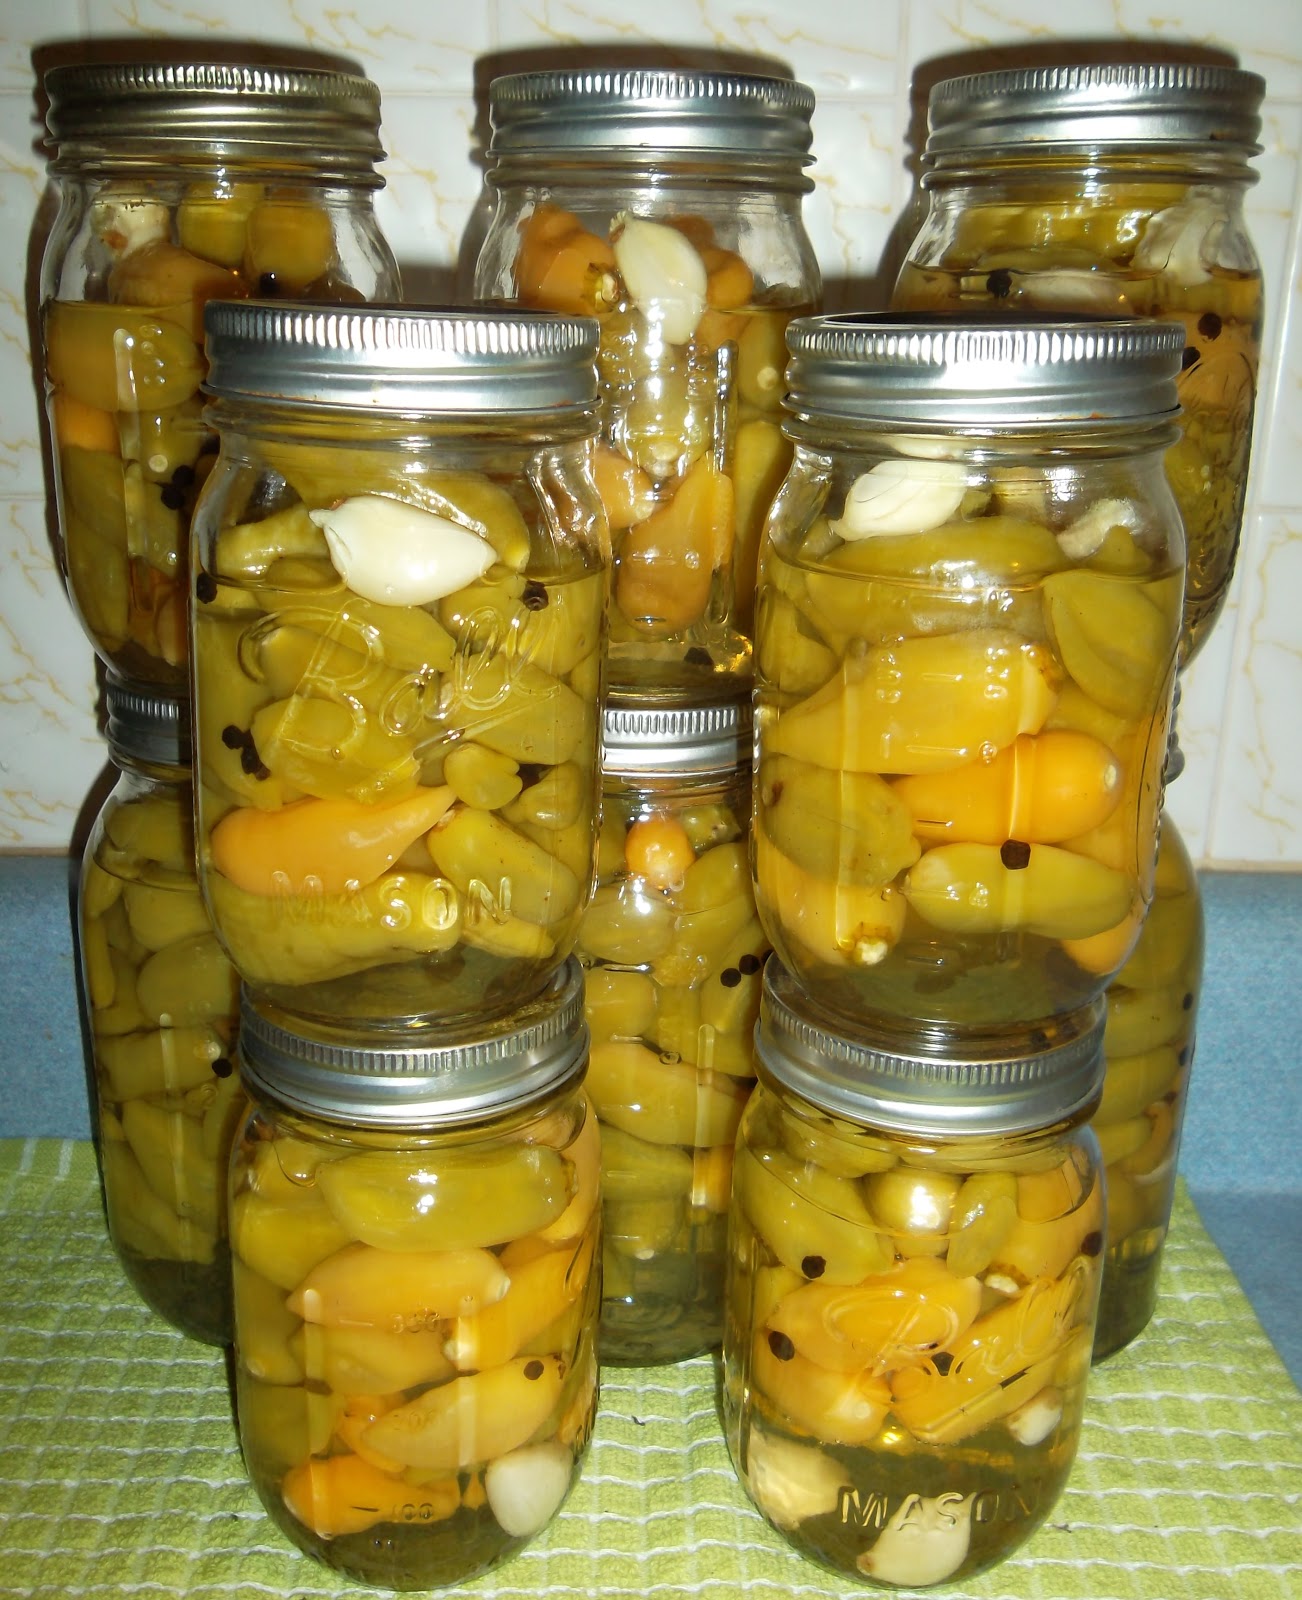
from my brother's garden

The chard is doing very well.

le jardin in November

Pears, hazelnuts & lettuce from the garden
Rest well Garden 2012.


